Sub-Total: $0.00
Setting Up Your Vendor Dashboard
So you decided to become a ECB Vendor and your account got approved. Congrats! Now you can set up your vendor dashboard. You can either watch our handy video on how to set up your account, or scroll down to the step-by-step instructions. And if you have any questions, our friendly staff will be happy to assist.
Setting Up Store Profile
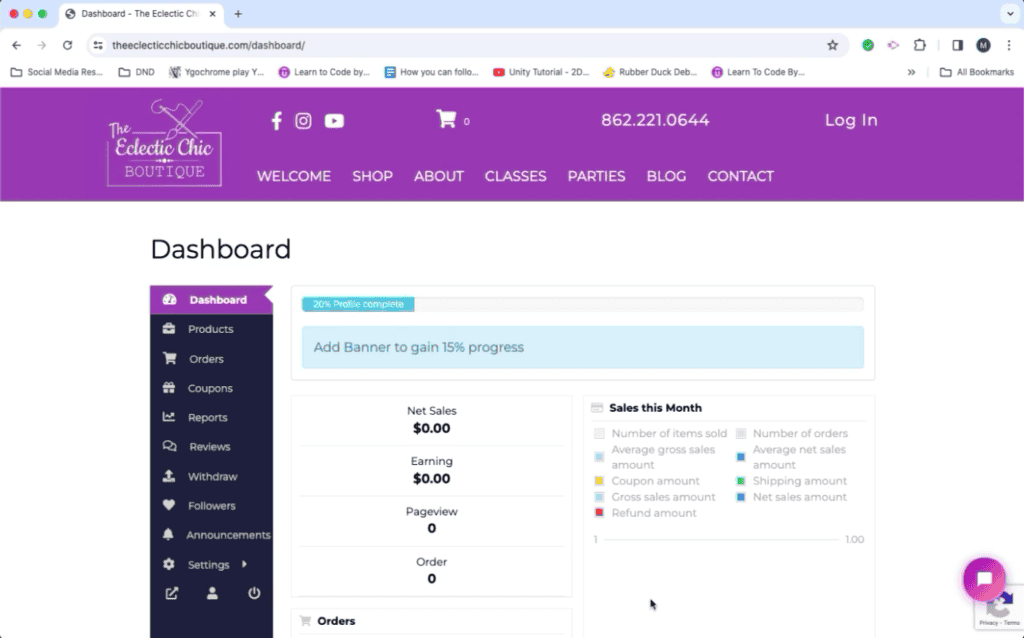
Begin by navigating to your Dashboard on the ECB Website.
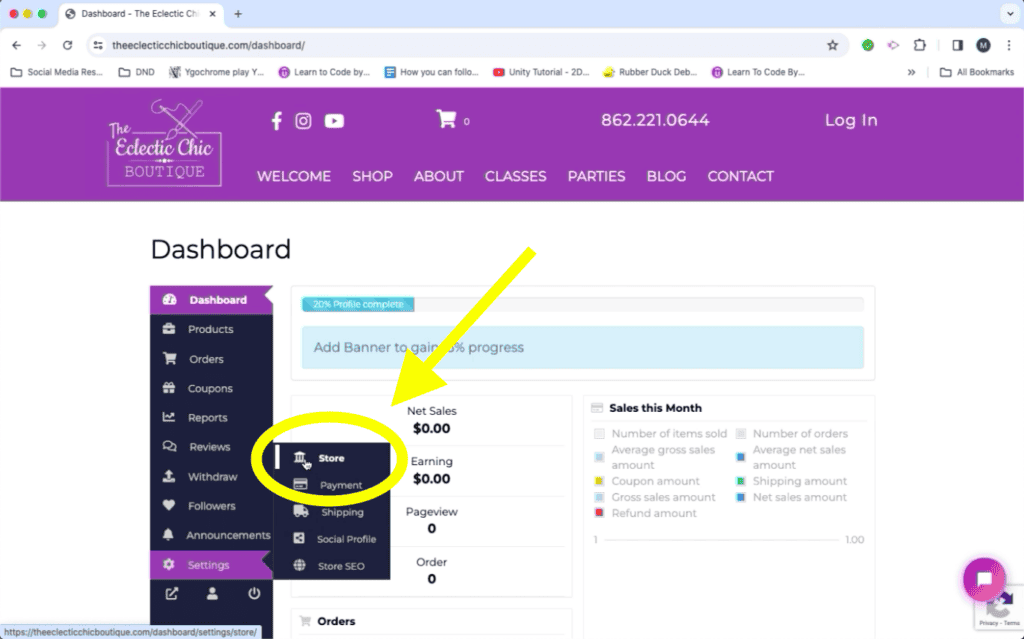
Click on “Settings”, then click “Store”.
This will take you to the page to update your Store Profile.
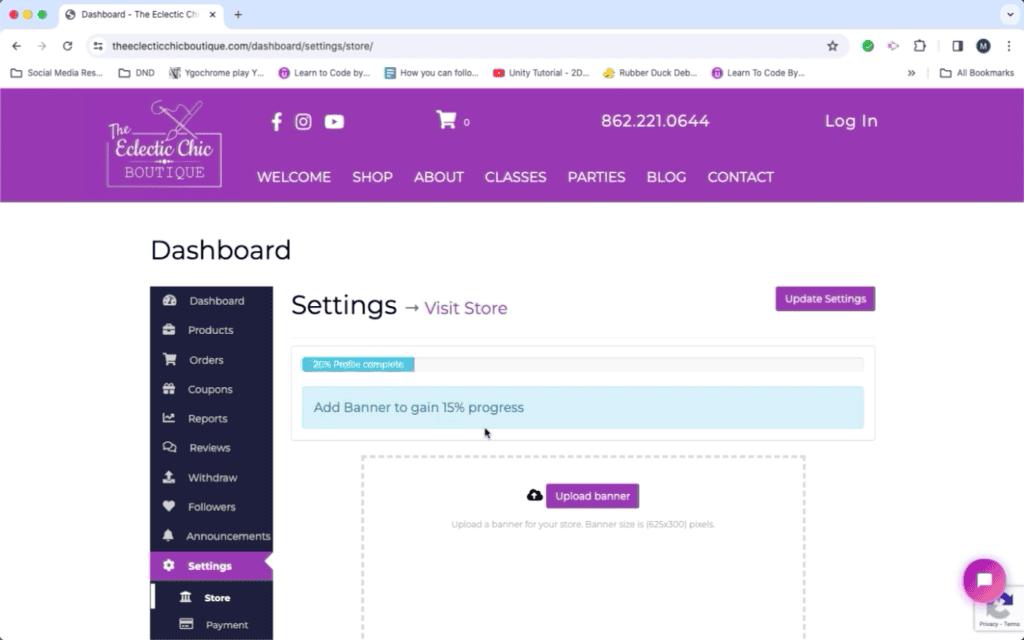
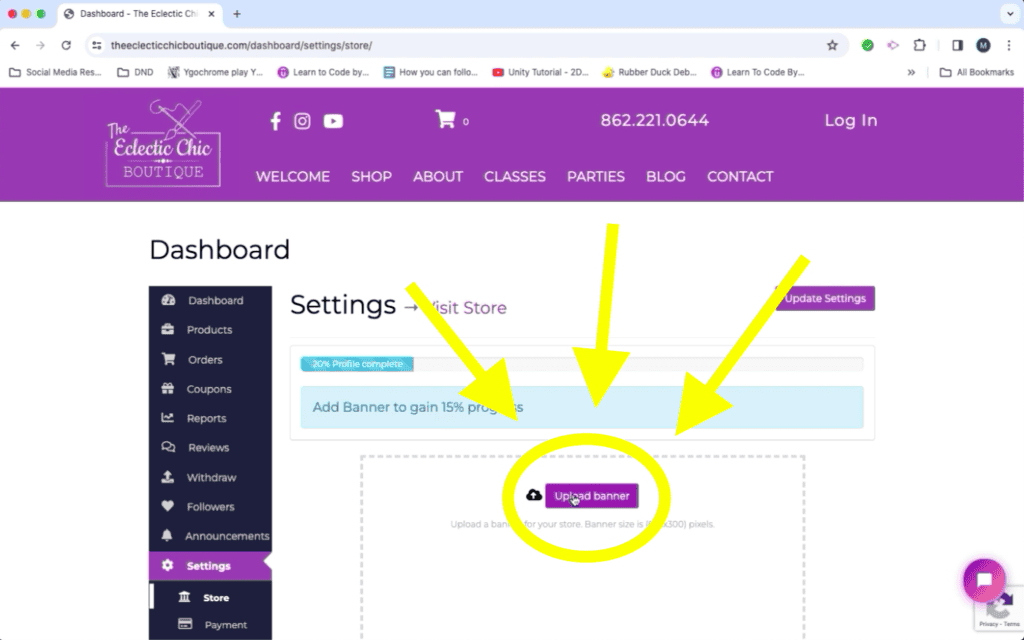
Click “Upload Banner” to add a Banner Image to your store.
Appropriate banner images include:
- A picture of your physical storefront or tent at a craft show.
- A Company/Artist Logo.
- Image of your signature products.
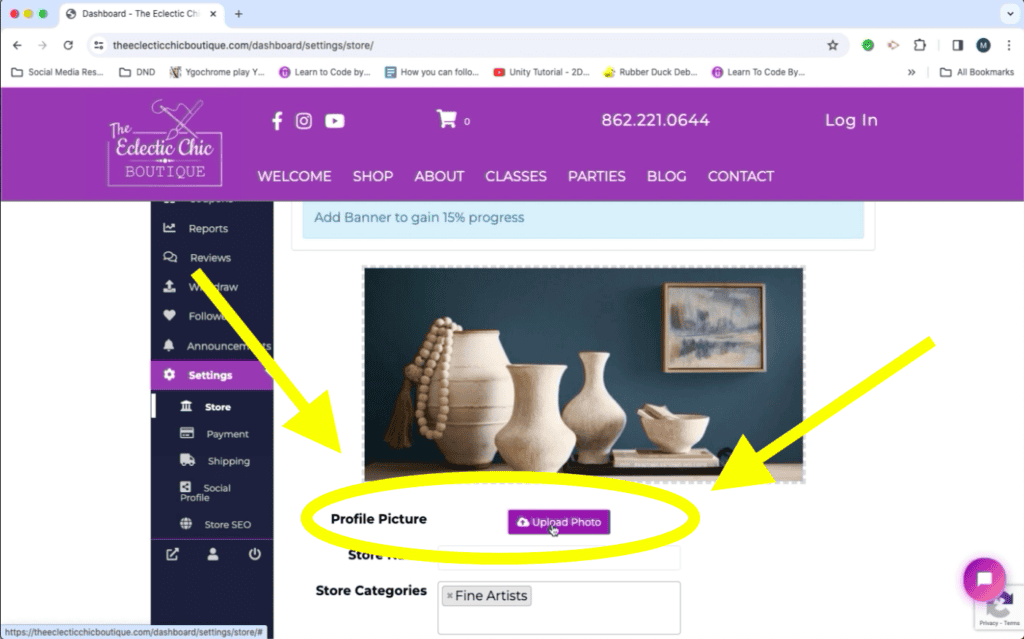
Click “Upload Photo” next to “Profile Picture” to add a profile picture to your page.
Appropriate profile pictures include:
- Headshot of Business Owner/Artist.
- Company/Artist Logo.
- Product Photo.
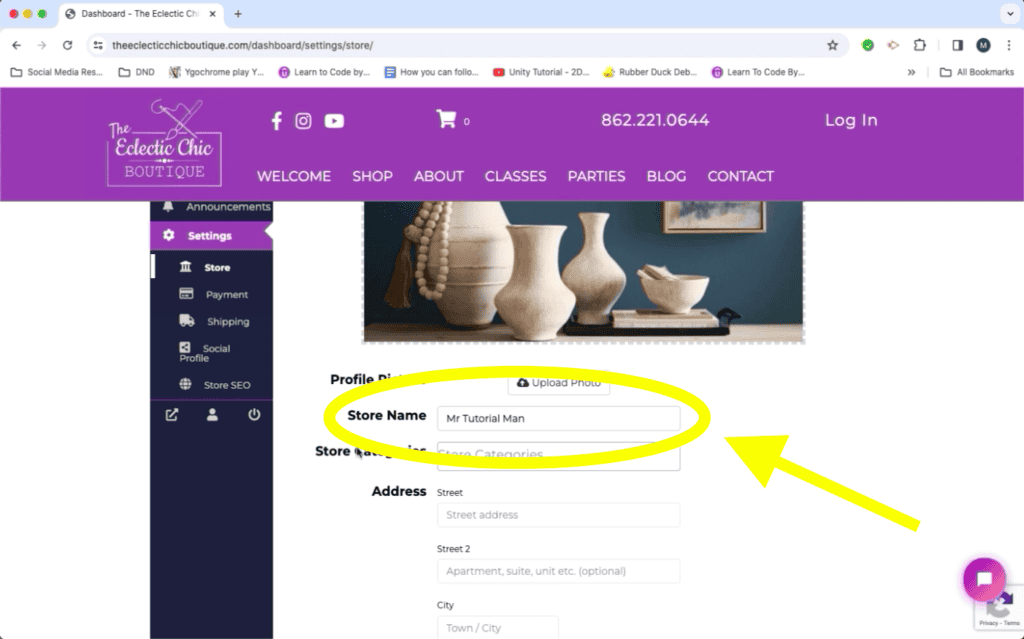
Enter the name of your store in the text field labeled “Store Name”.
Appropriate Store Names include:
- The name of your business.
- A moniker you go by.
- The name of the artist.
Select whichever “Store Categories” you feel apply to your business/products.
TIP: You can choose more than one Store Category for your shop. This will help shoppers understand at a glance what type of vendor you are.

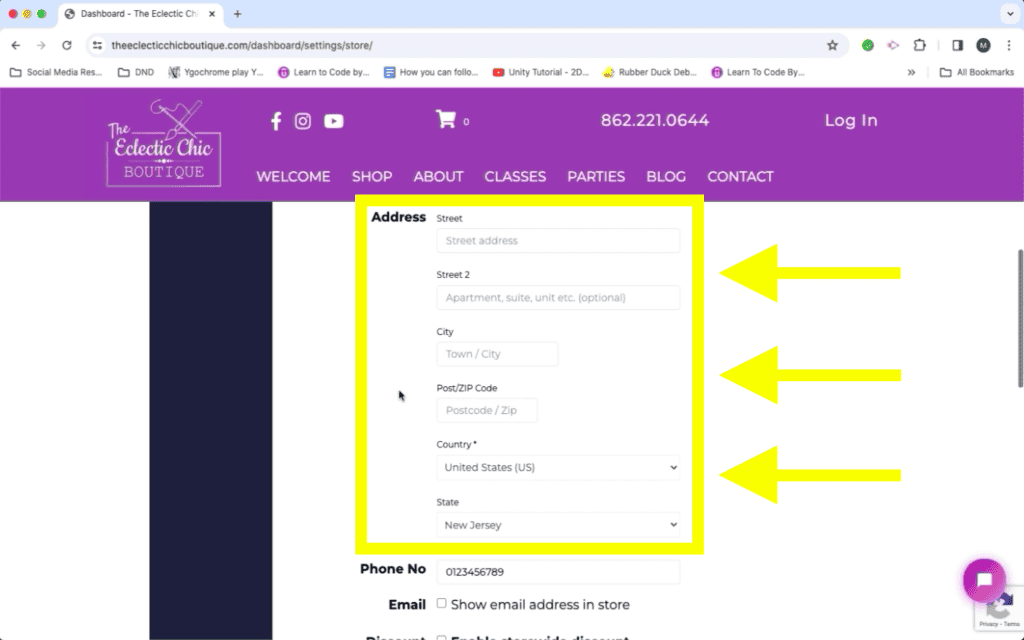
In the “Address” section, DO NOT list your private home address, only business or public addresses. Office addresses and PO boxes are both acceptable. If you don’t have a suitable address, we recommend listing only your Town and State.
In the “Phone Number” section, be sure to only list business phone numbers, or numbers you feel comfortable receiving business contacts at.
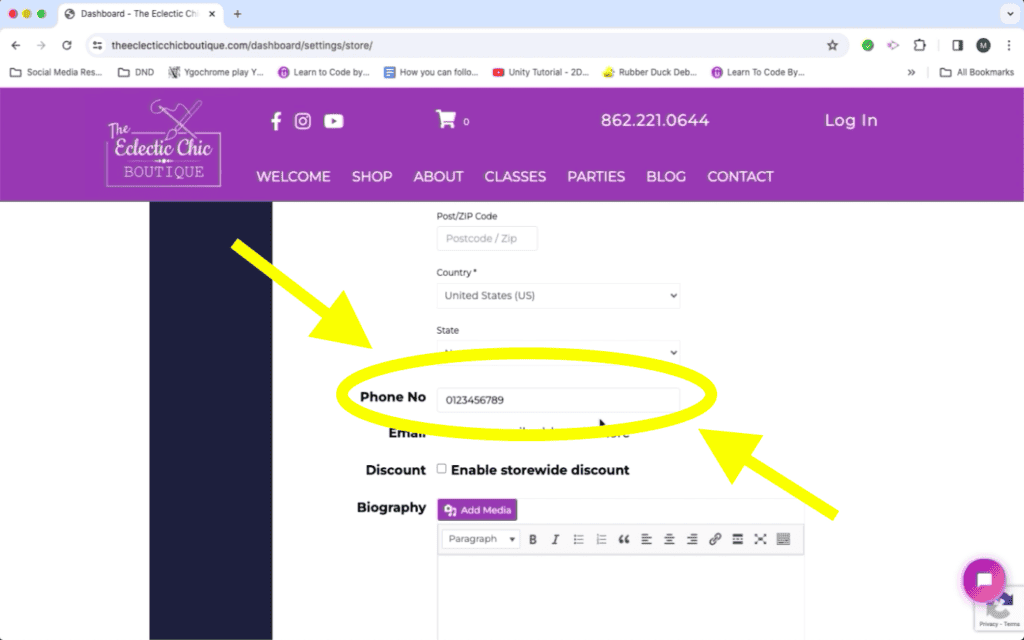
Click the “Show email address in store” checkbox, IF you feel comfortable allowing customers to contact you via email. This will be the same email you use to log into your account.

The “Biography” section should contain either a bio of the Artist/Company, or a blurb about the business. We recommend at least 1 paragraph.
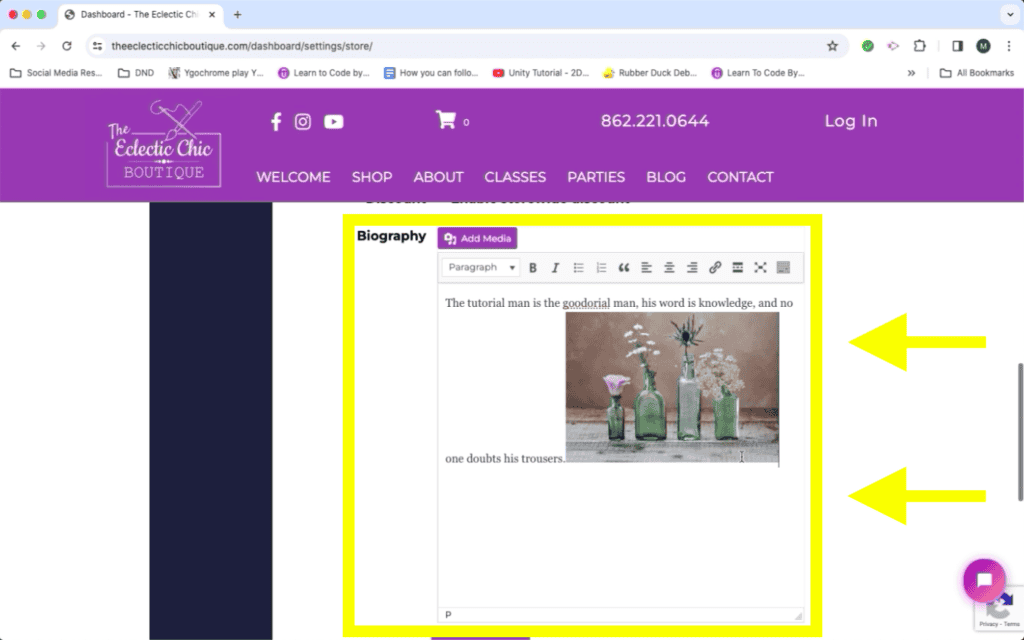
You can also use the “Add Media” button to add photos to your bio. Appropriate images include pictures of your products, and pictures of yourself at vendor events.
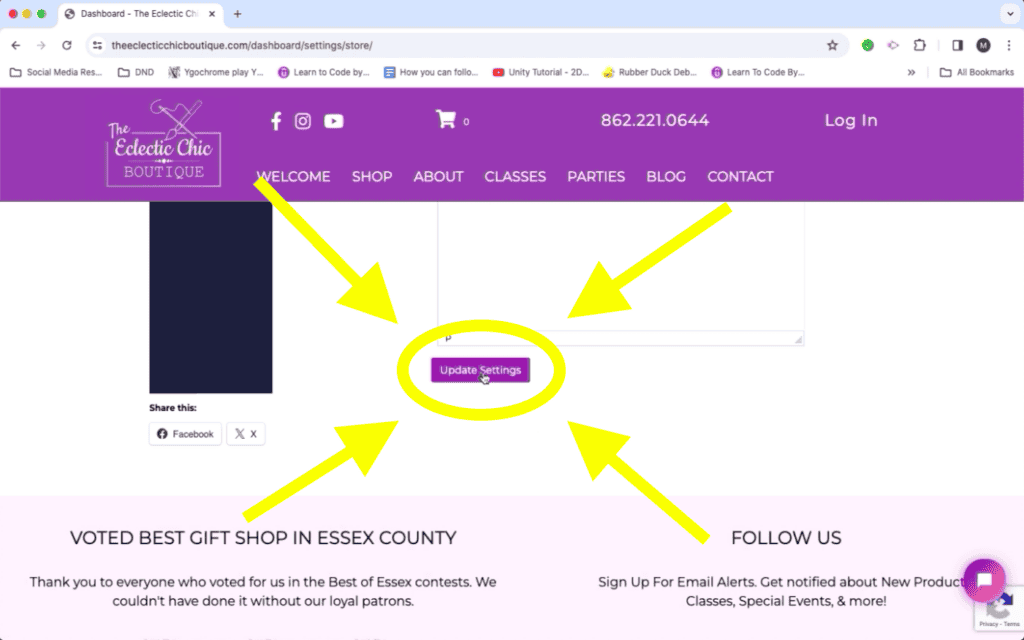
Once all these fields have been filled out, click “Update Settings” at the bottom of the page.
Setting Up How You Will Be Paid
Click “Payment” under the “Settings” sidebar.
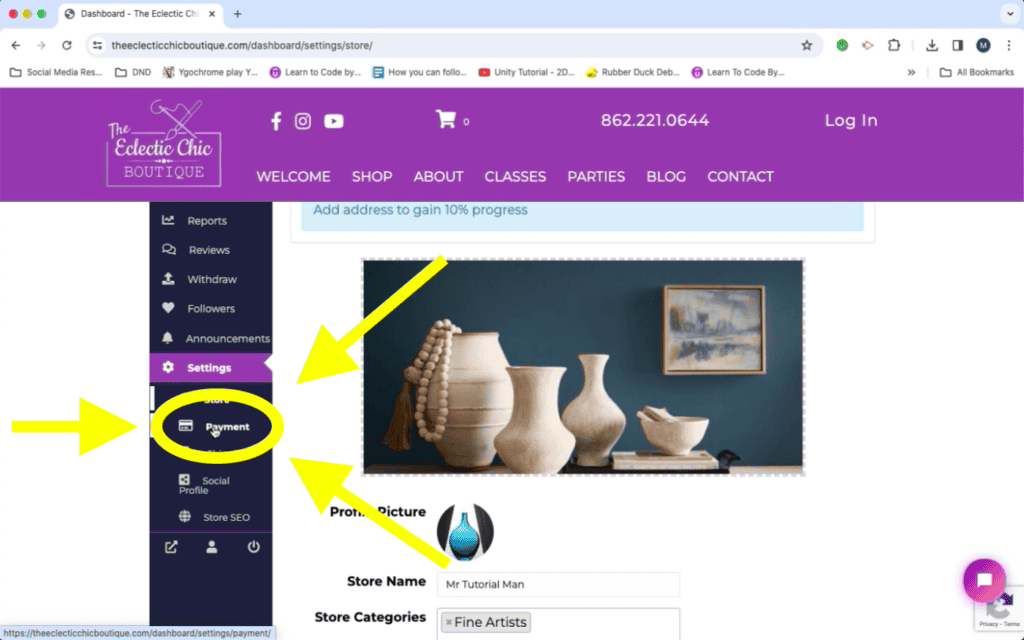
Here, you will set up how you will receive money made from sales on this website.
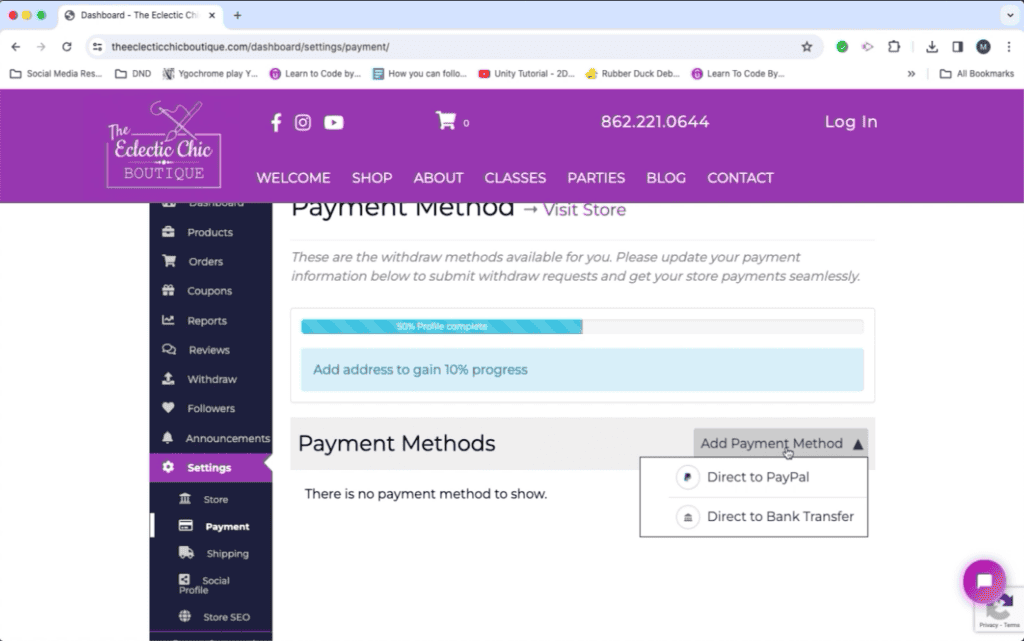
NOTE: Even if you have an in-store membership, you’ll still need to set up a payment method for sales made from this website.
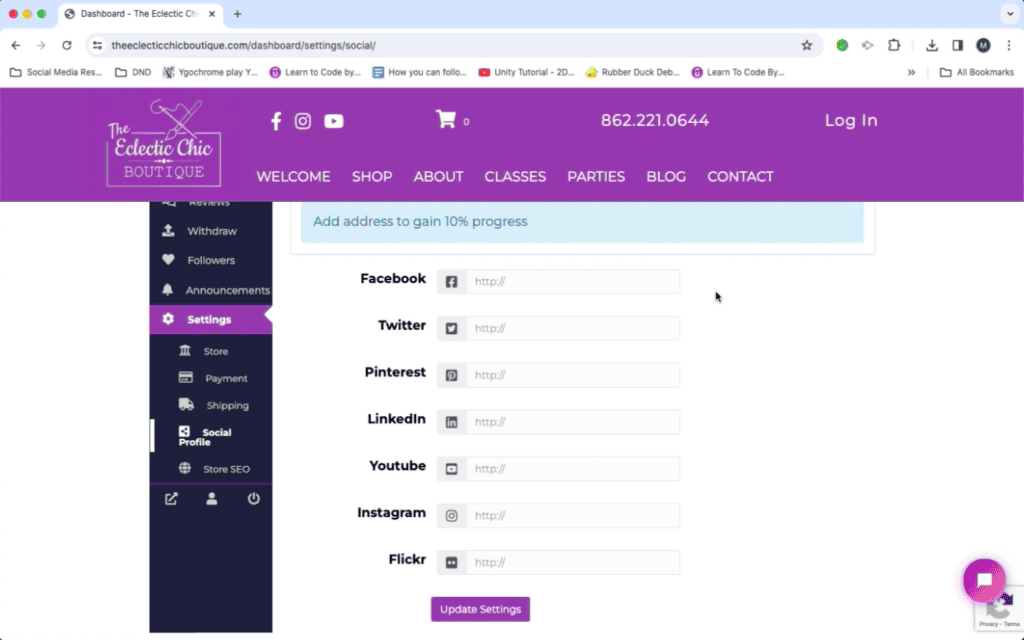
Setting Up Social Media Profiles
Click “Social Profile” under the “Settings” sidebar.

Enter links to any business profiles you have, in their appropriate fields.
And You are Done!
Now that your profile is all set up, you can move onto listing your products.