Sub-Total: $0.00
Vendor Dashboard: Simple Product Listing
So you are signed on as a vendor and you have set up your vendor profile. Congrats! Now you can start uploading products to your account. There are two types of physical products that you can upload to your account: Simple Products, and Variable Products. This article will focus on Simple Products.
A “Simple Product” refers to a product that does not have multiple versions, or variations. This includes unique, handmade items, and manufactured items that do not have alternate versions or options. Even if you plan on only uploading “Variable” products, we recommend following this tutorial first, as it will help familiarize you with the website’s UI.
Here is a handy video on how to upload a simple product. Or you can scroll down and read our step-by-step tutorial.
Creating a Simple Product Listing
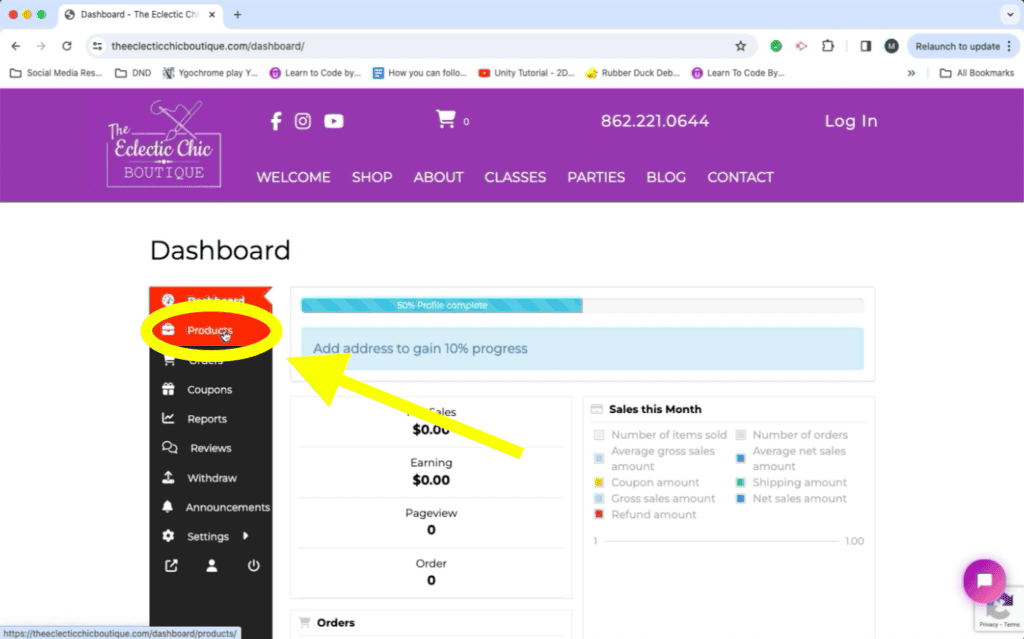
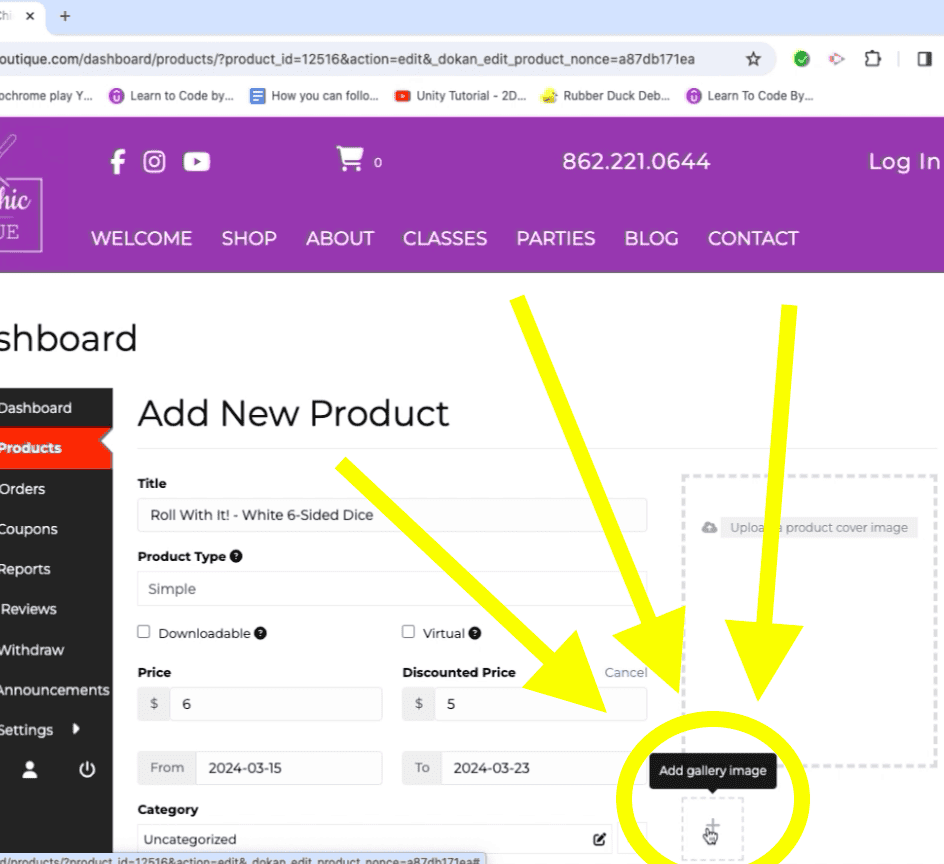
First, navigate to your Vendor Dashboard, then click “Products” on the sidebar.
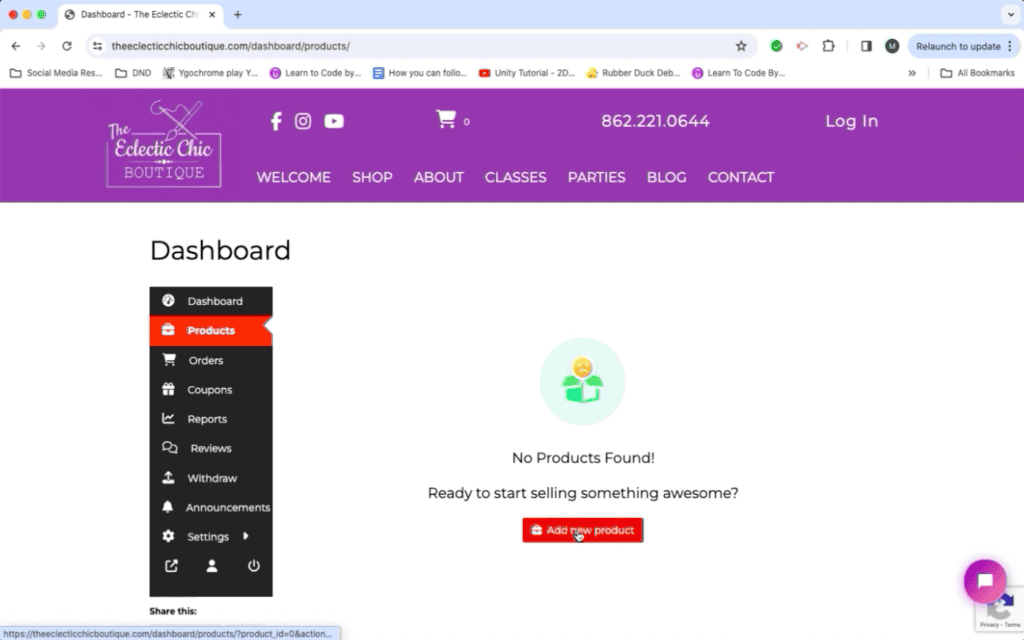
Then click “Add New Product”
This will take you to the page where you can enter your product information.
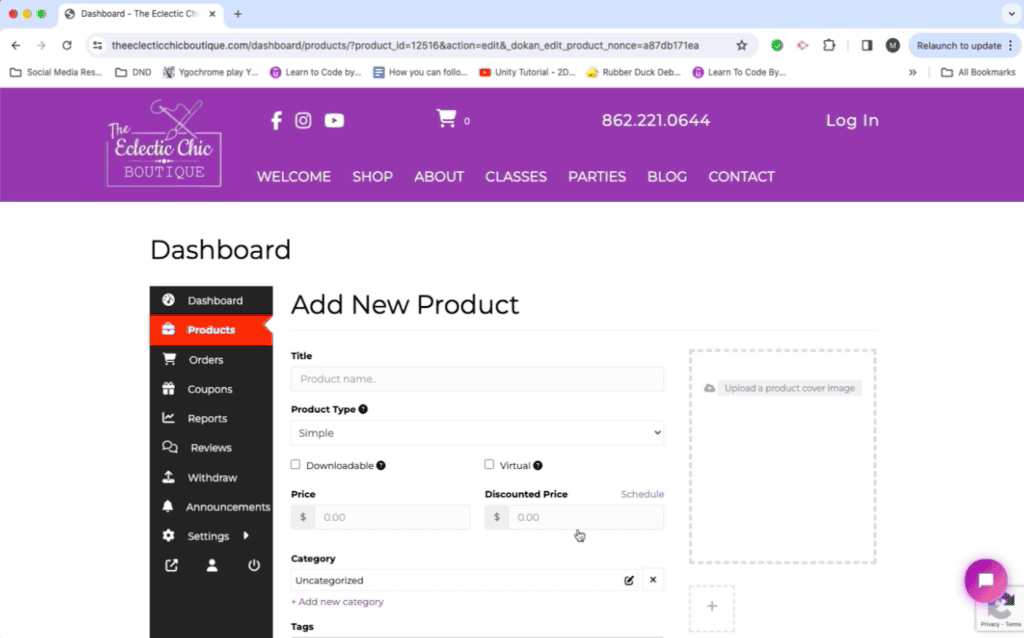
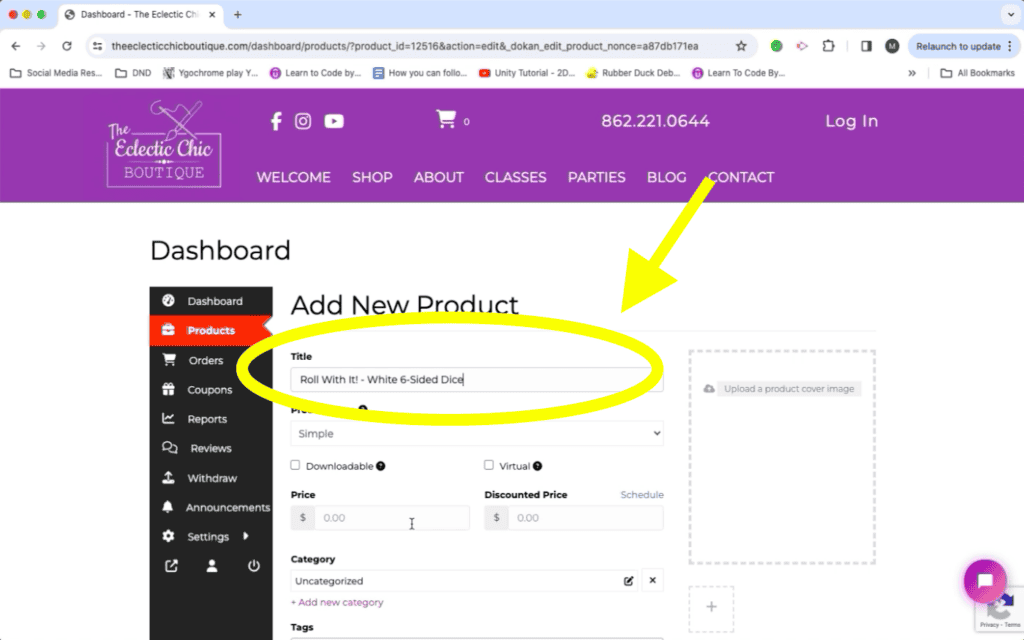
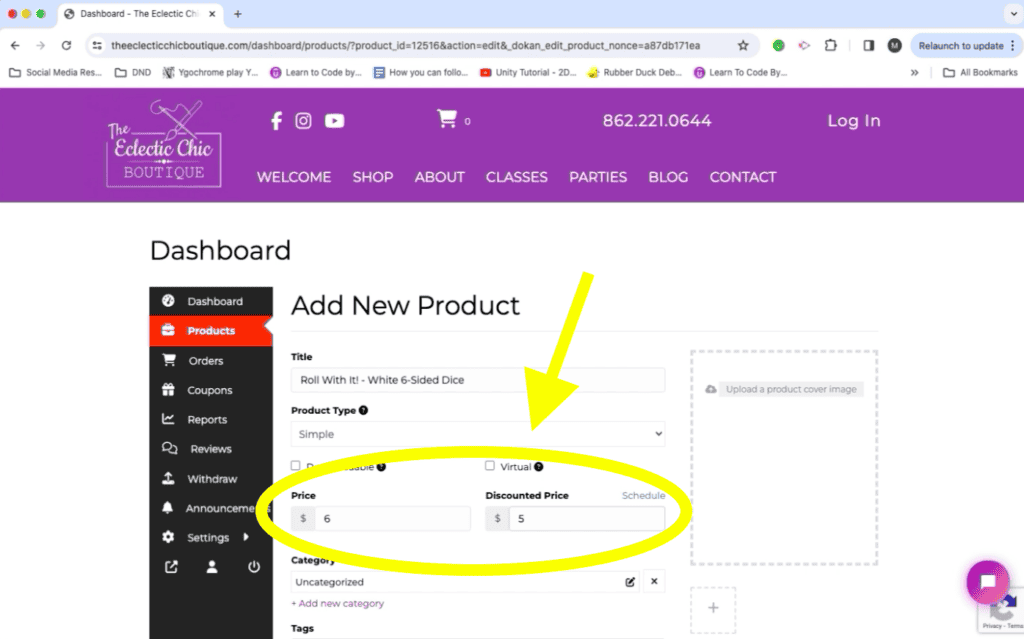
Under “Title”, enter the name of your product. We recommend simple and straightforward names, to avoid confusion. If you have a fancy name for your product, be sure to include additional information, clarifying what the product actually is.
Enter the Price of your product under “Price”
Under “Discounted Price”, you may (optional) add a price that the item will be, should you decide to put it On Sale.
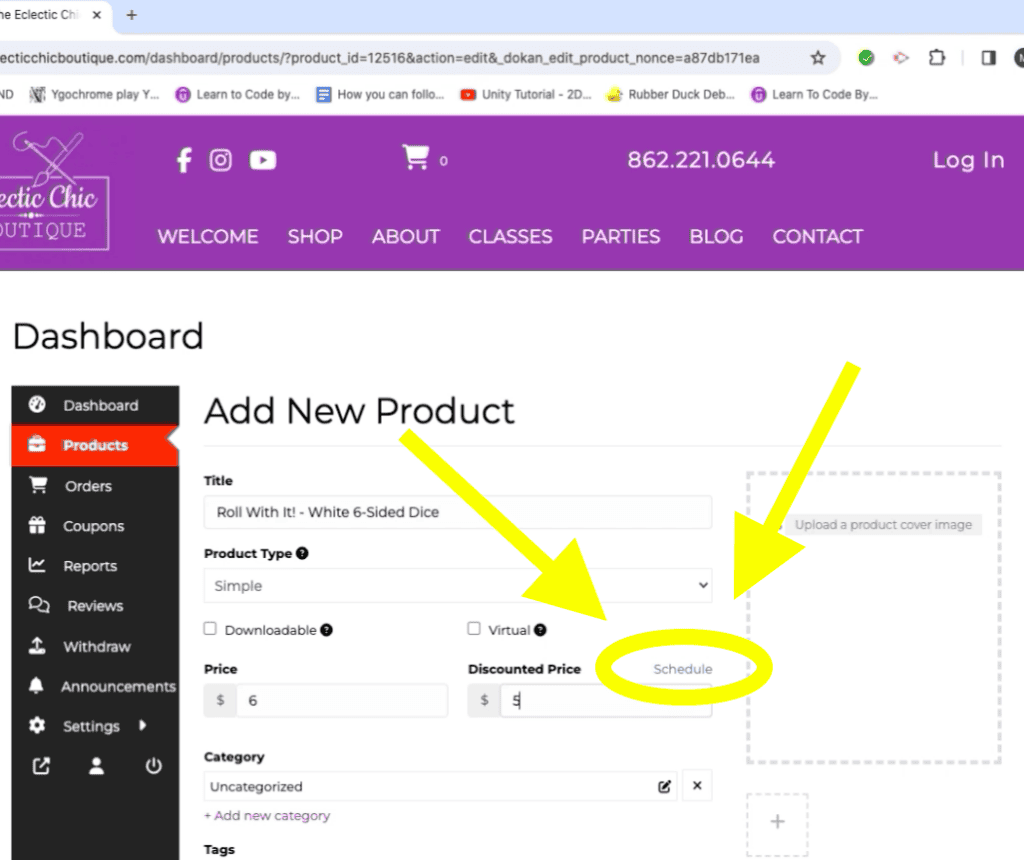
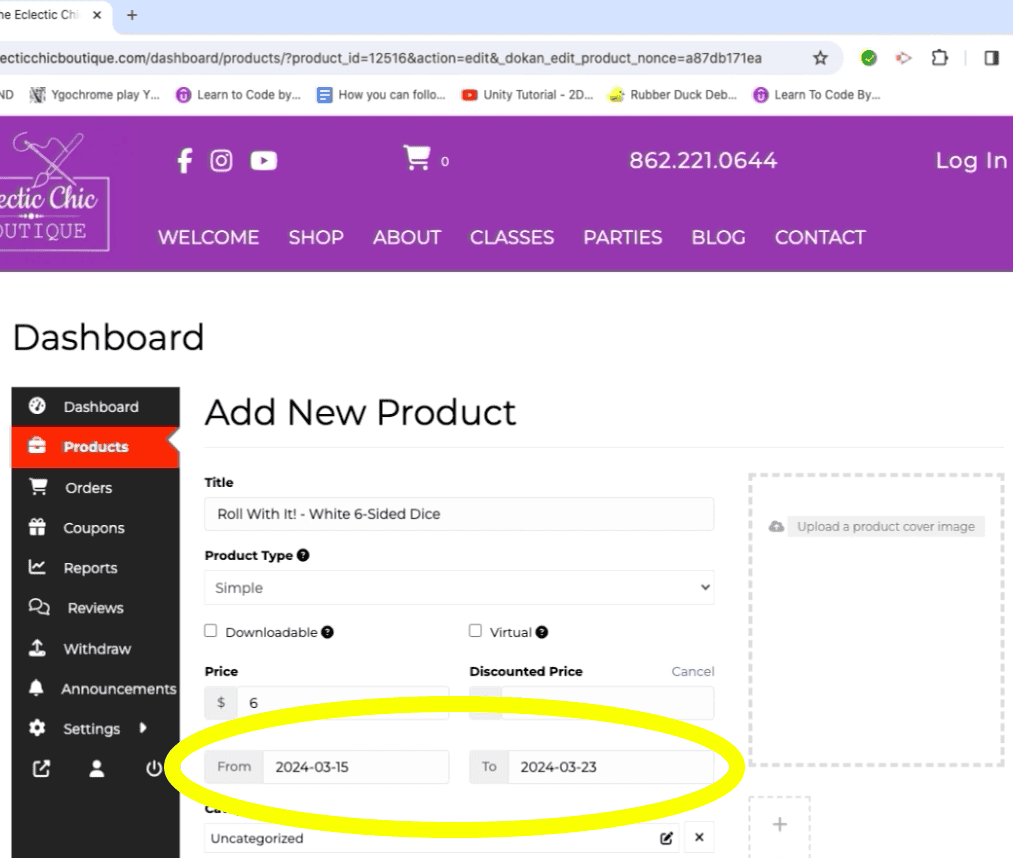
To schedule a sale, click “Schedule”, then select a “Start” and “End” date.
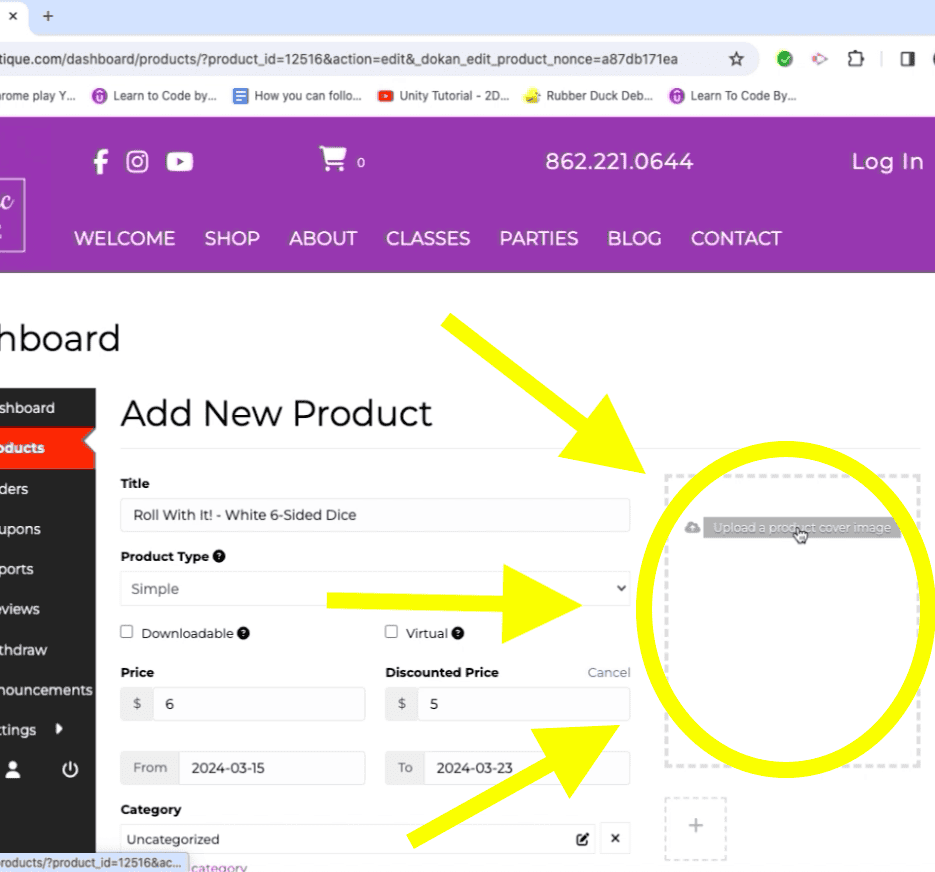
Images are divided into 2 sections: Cover Image and Gallery Images.
The Cover Image is the first image that the customer sees, and the Gallery Images are displayed when they click on the product. Click their respective buttons to upload them.
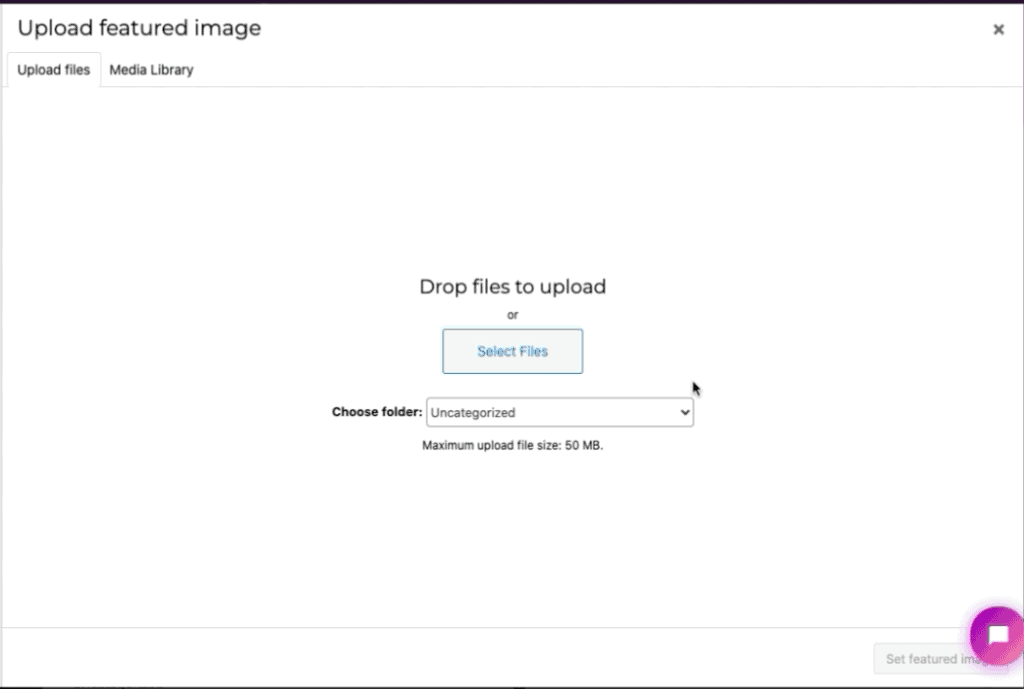
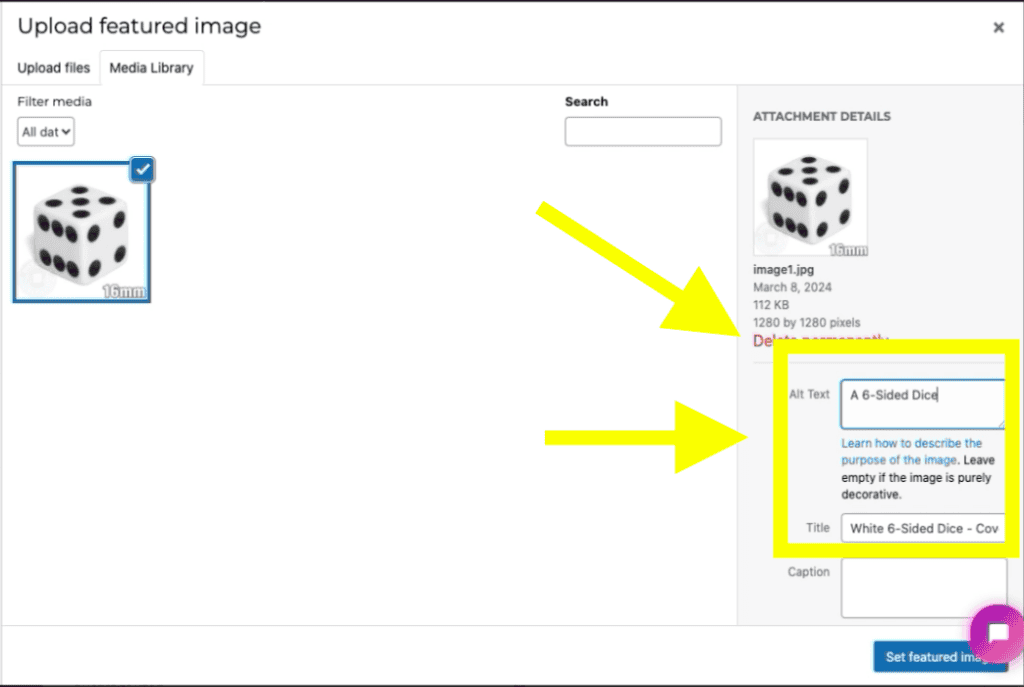
Clicking on either opens the “Media Library”, where images are stored.
We recommend adding a Title and Alt Text to the images, as this increases accessibility for people using Screen Readers.
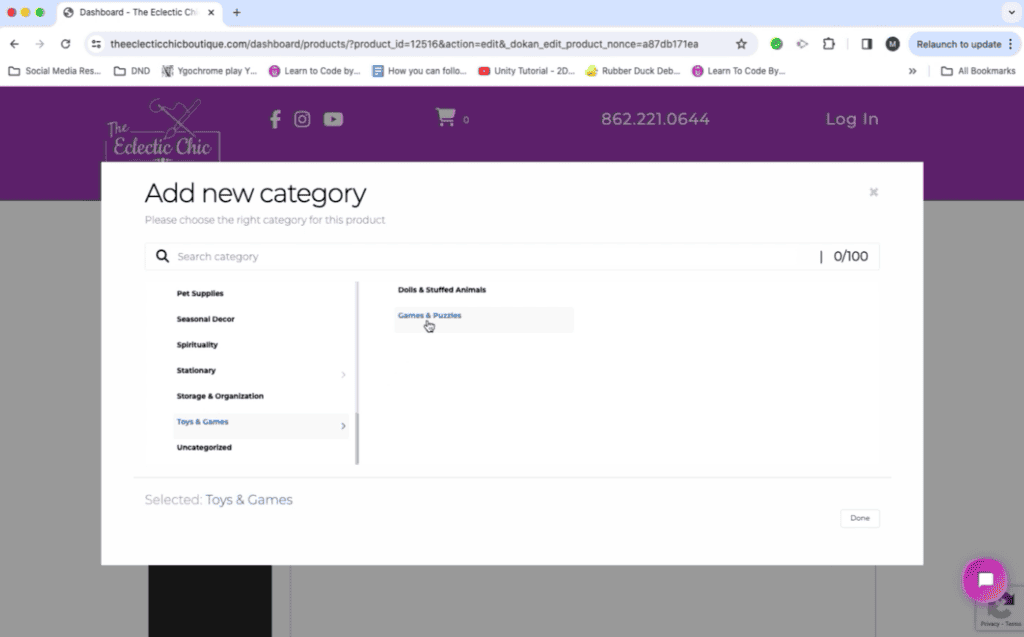
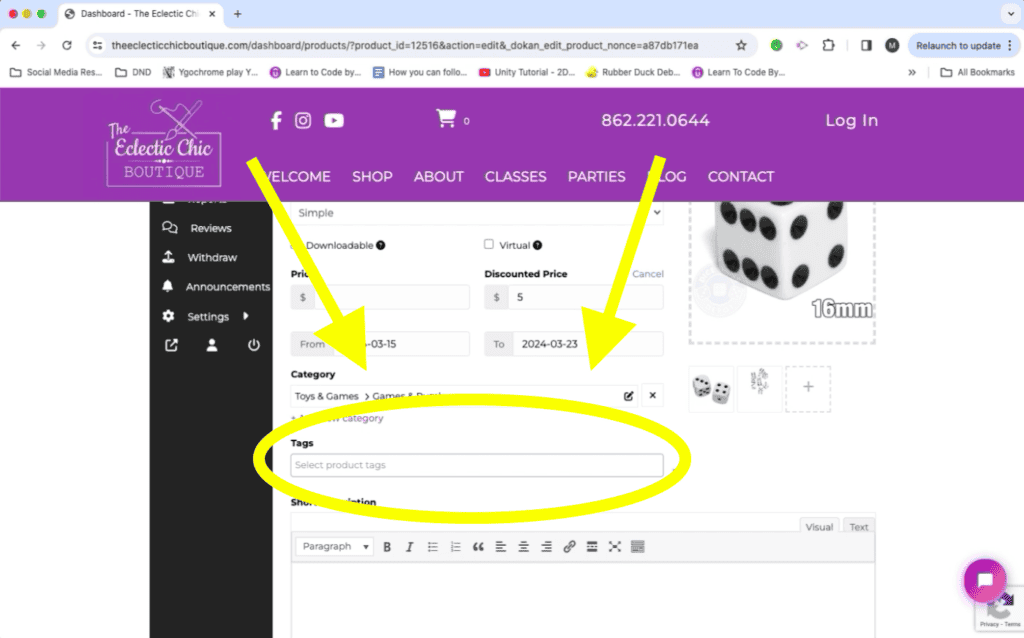
Category is set to “Uncategorized” by default. Change this to whichever category best matches your product. Some categories have one or more subcategories, for further specificity. Select any and all categories you feel apply to your product.
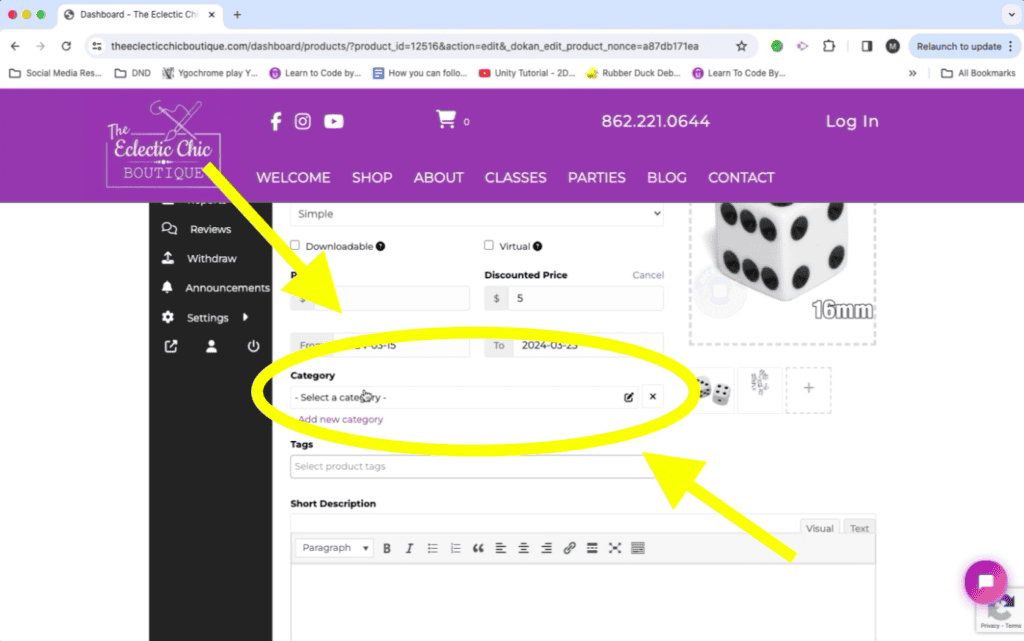
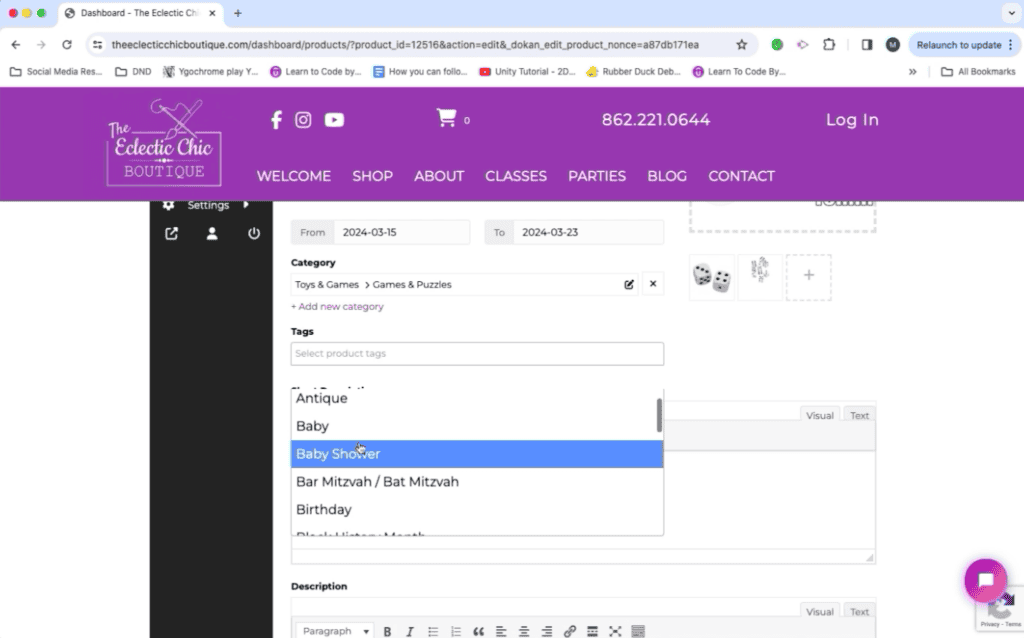
Underneath the “Categories” section is the “Tags” section. Everything that was said above about selecting Categories also applies to selecting Tags.
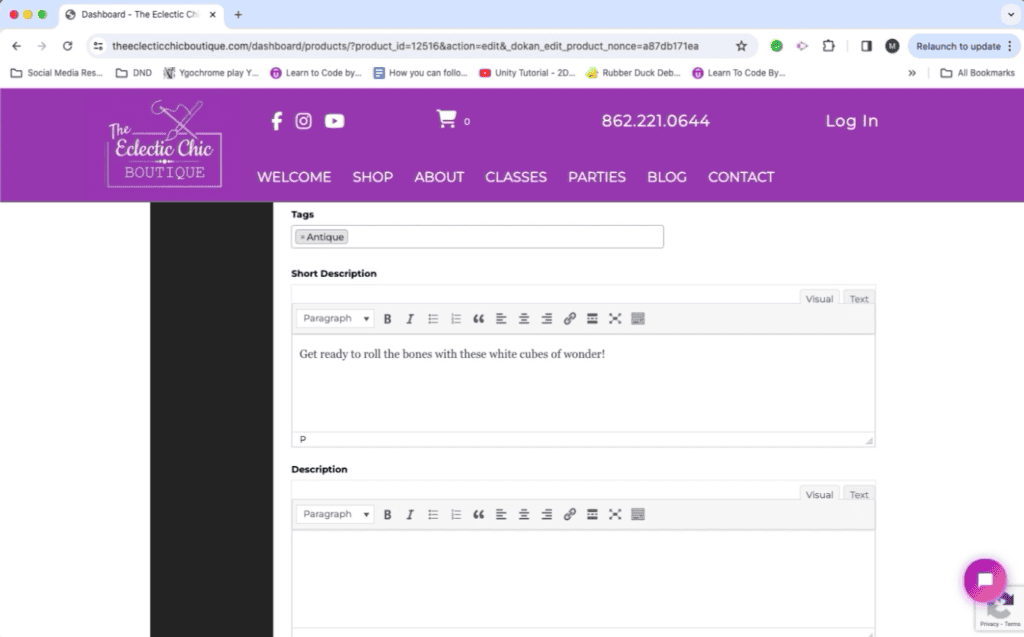
“Short Description” should serve as a dynamic “Hook” for your audience. 1 to 2 sentences.
The Description should contain any important info about the product, including ingredients, materials, allergy info, product dimensions, product weight, care instructions, storage instructions, any other info you feel the customer needs to know.
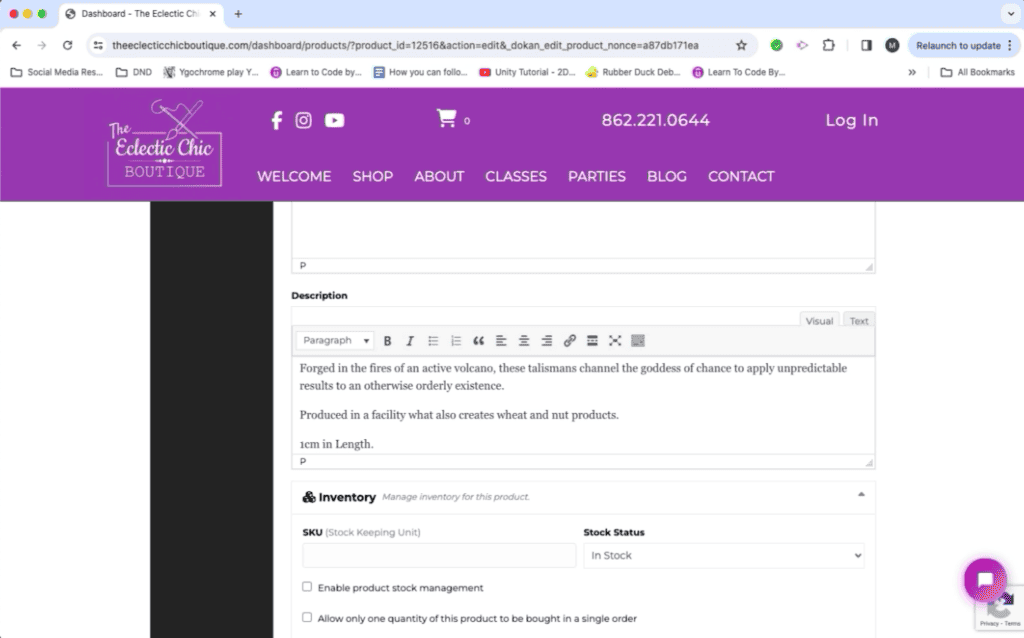
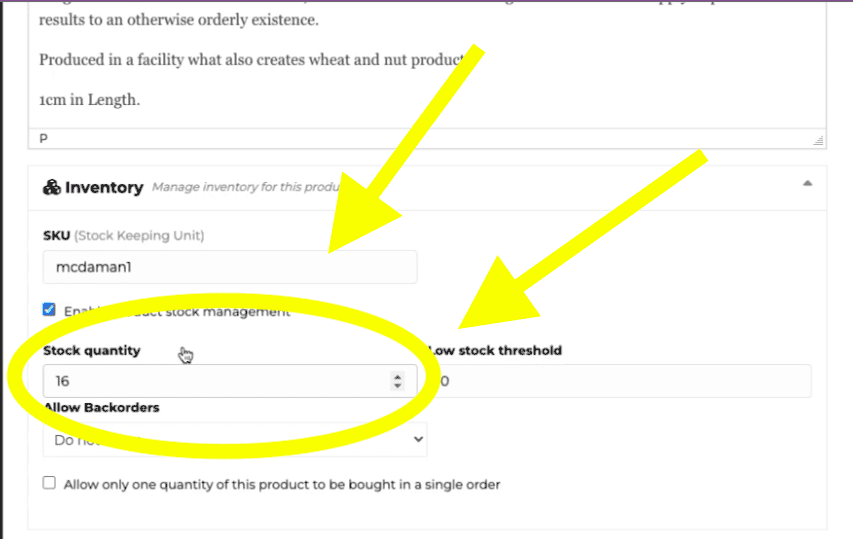
Each product needs a unique “SKU” (Stock Keeping Unit) to track its sales.
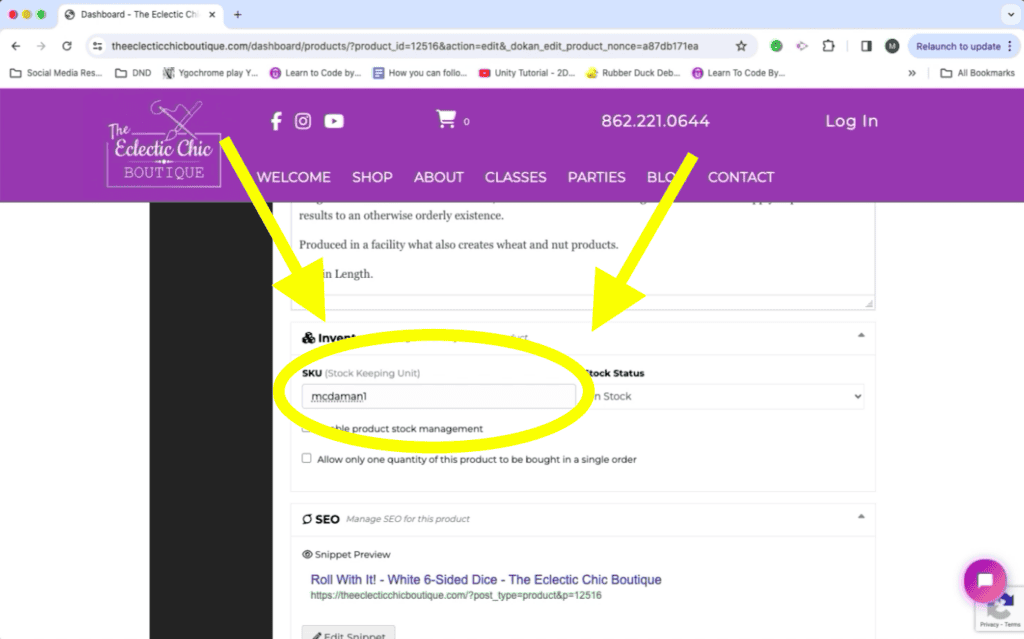
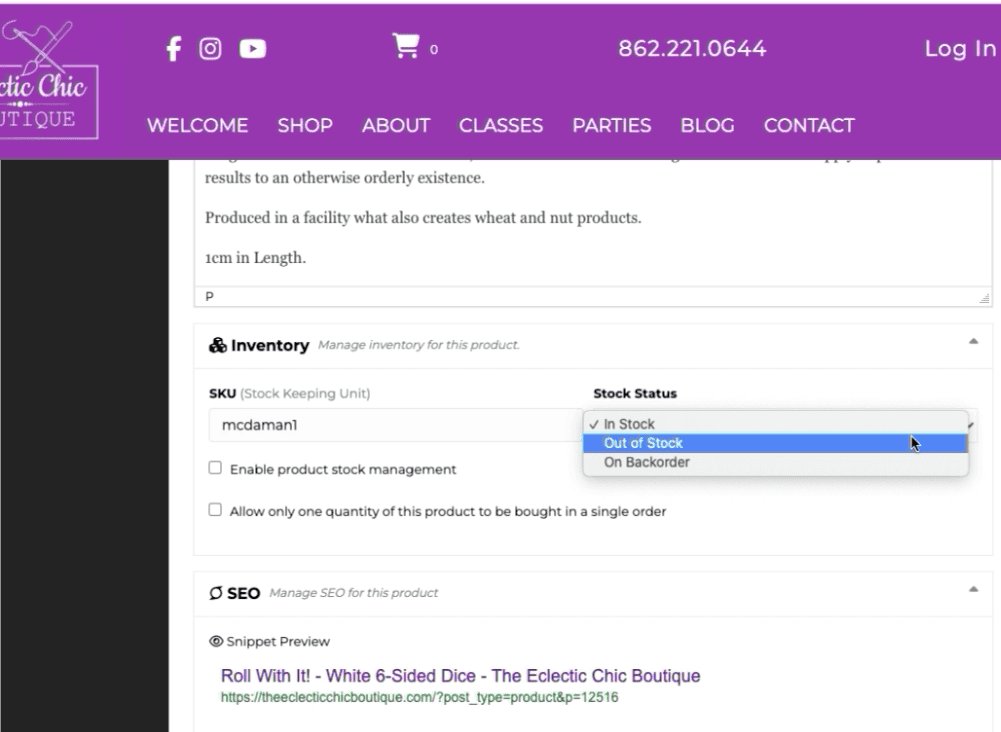
Stock Status is set to “In Stock” by default. This can be changed to “Out of Stock” or “On Backorder” as needed.
To track the quantity of your item (which you almost always want to do) click the “Enable product stock management” checkbox. Otherwise, the website will assume you have an unlimited supply of this item.
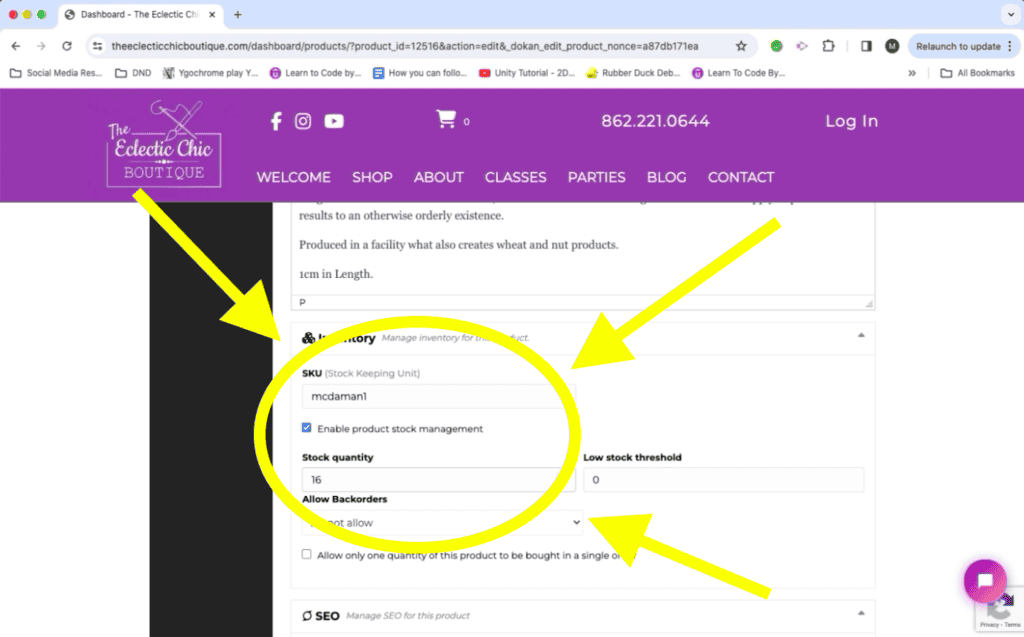
This will open up a sub-menu, where you can enter the number of items you have for sale. For unique items, set “Stock quantity” to 1.
SEO displays a preview of what your product entry will look like in a Google search.

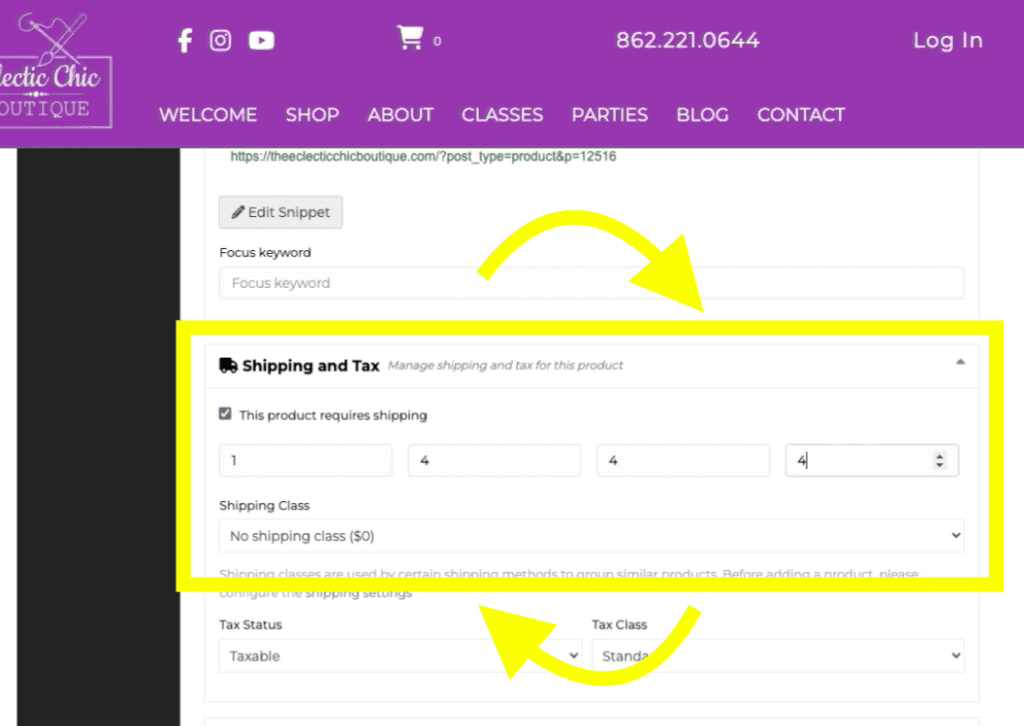
Under “Shipping and Tax”, the Weight and Dimensions you provide are NOT of the product itself, but rather of the product while in the container it will be shipped in. If you need help calculating these values, please contact us.
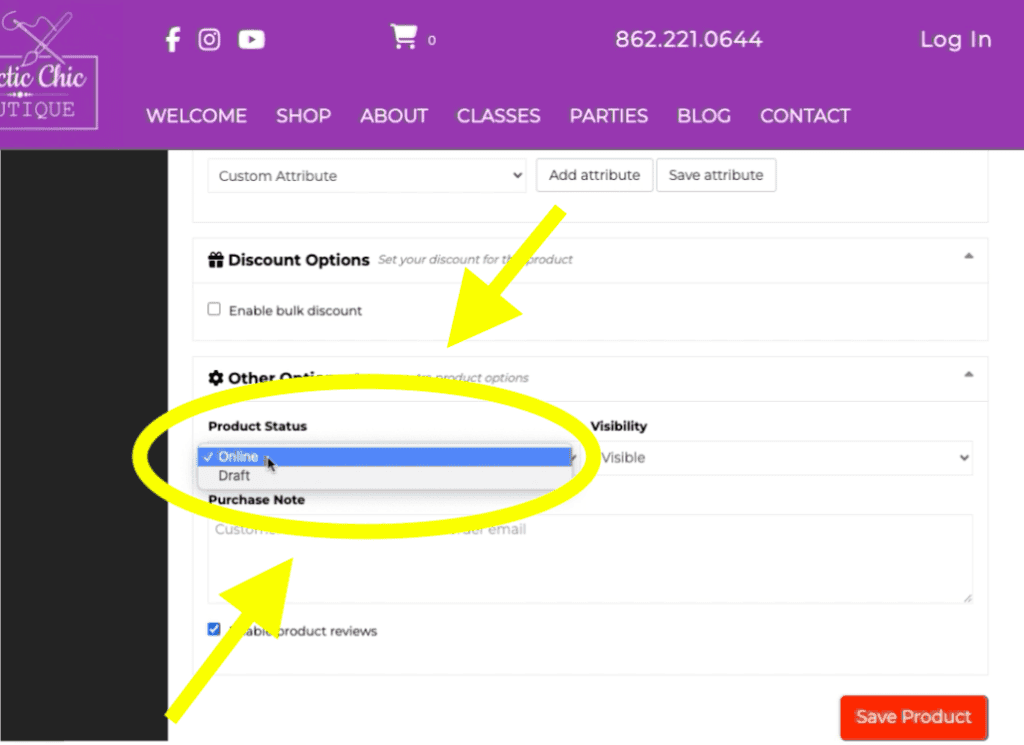
“Product Status” determines whether the entry is published to the store. “Draft” means the entry isn’t finished, and won’t be shown to customers.
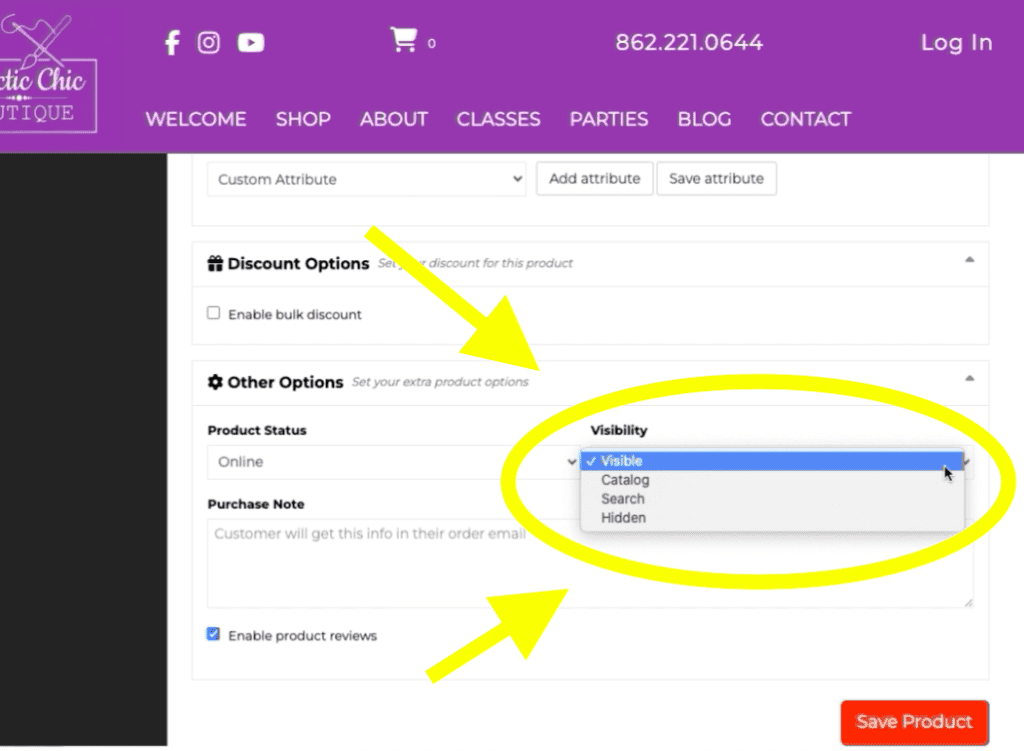
Visibility restricts how people are able to see your product. “Visible” means your product is visible on both your storefront, and in searches. “Catalog” restricts visibility to only your storefront, and “Search” restricts visibility to searches. “Hidden” prevents it from being seen by anyone.
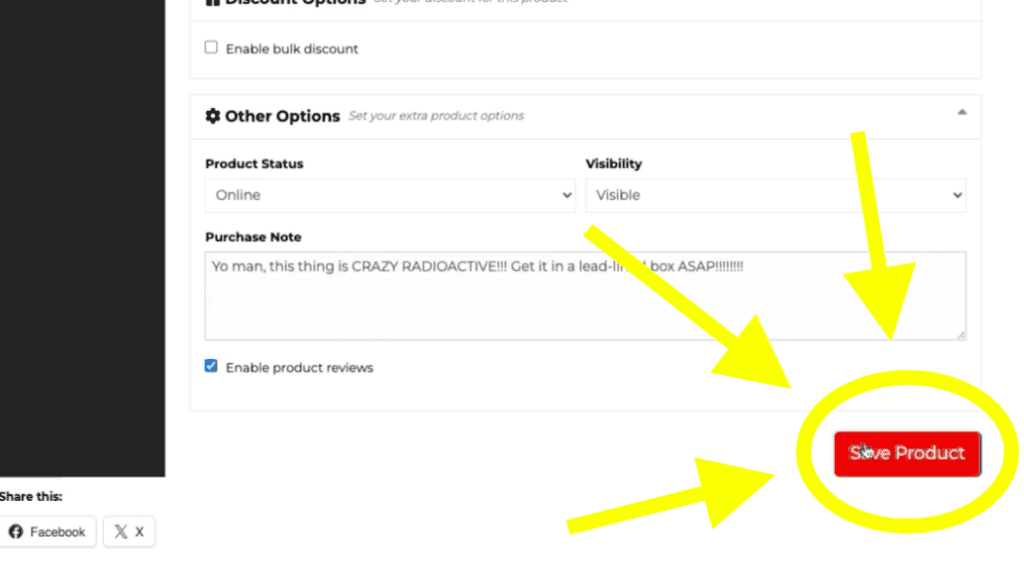
“Purchase Note” is information that is sent to the customer upon purchase of the item. This is NOT meant to be a “Thank You” note. This is for any additional information regarding the product that the customer would require.
For example: Timeframes for the completion of handmade items, or reminders of time-sensitive storage information, such as if the item requires refrigeration.
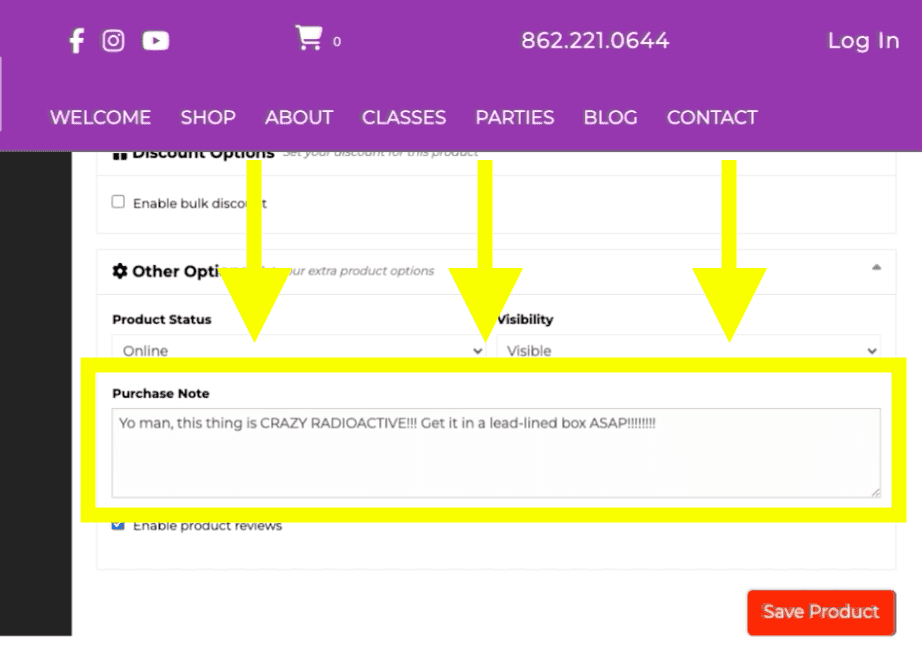
When you are finished, click the “Save Product” button.
First Product Published
Now that you know how to create a Simple Product, you can now create a Variable Product.